



How to make honey-glazed roast chicken: glossy, juicy and never burnt
Honey gives the chicken a glossy colour and a good smell, but the sugar also burns before the thick parts of the meat are cooked. This recipe separates the marinade from the final glaze and shows exactly where to take the temperature, so the chicken reaches 74C without the skin going black. It suits both an oven and an air fryer.
Quick facts
- Serves: 5-6 people.
- Preparation: 30 minutes.
- Marinating in the fridge: 4-8 hours.
- Roasting: 45-70 minutes depending on size.
- Difficulty: medium.
Ingredients
- 1 chicken of 1.5-1.8 kg, or 1.4 kg of chicken thighs.
- 3 tablespoons of honey.
- 2 tablespoons of fish sauce, 1 tablespoon of soy sauce.
- Chopped lemongrass, garlic and shallot.
- Cooking oil, pepper and five-spice, optional.
- Lime, cucumber and herbs to serve.
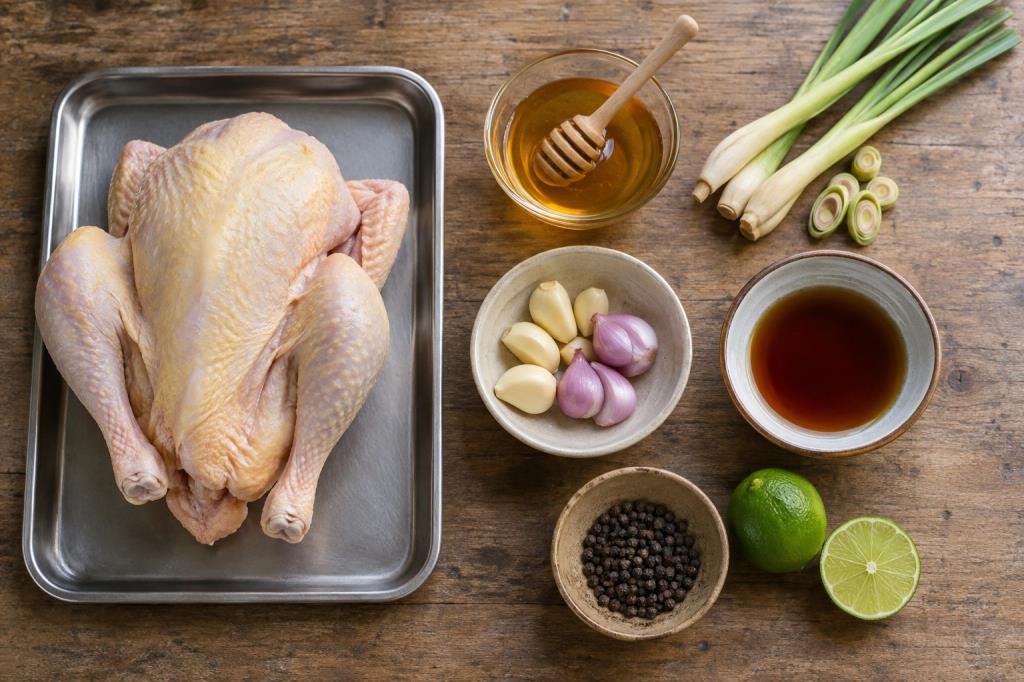
Choosing the ingredients decides the quality
The chicken should have unbroken skin, springy flesh and no odd smell. A medium bird cooks more evenly than a very large one. Pure honey has a gentle aroma; check the date and the saltiness of the fish sauce and soy sauce so you can cut back on added salt.
Prefer ingredients with a clear origin, still within their date and kept at the right temperature. Frozen food should be thawed in the fridge, in the microwave or under cold running water, not left on the worktop for hours. Vegetables eaten raw must be washed under clean running water, drained and kept apart from raw meat and fish.
Preparing and laying out before you turn on the heat
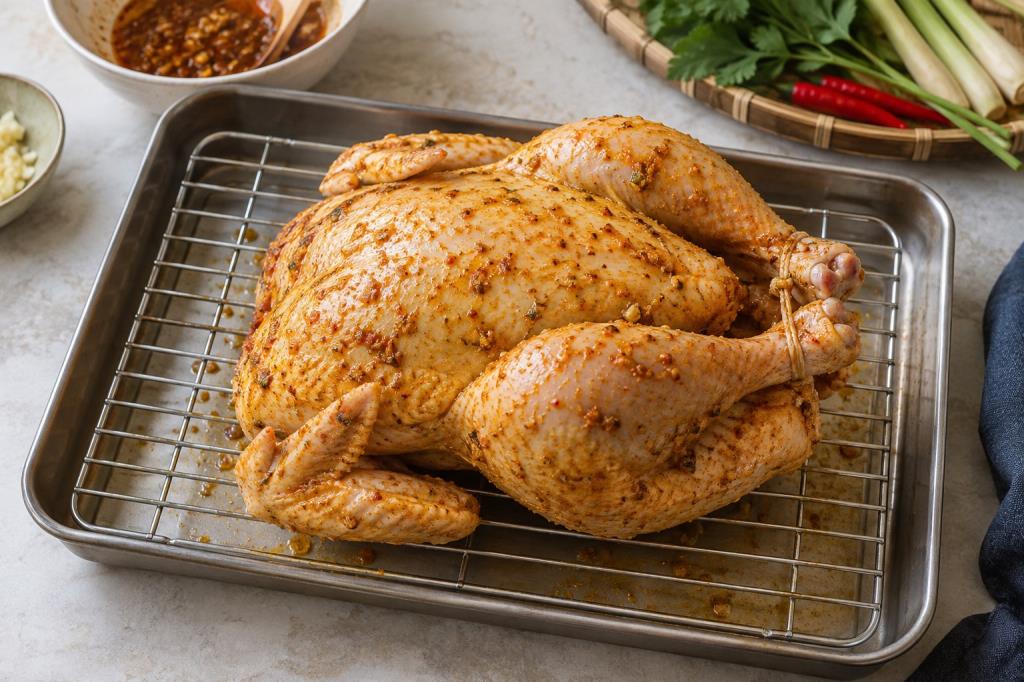
Pat the chicken thoroughly dry, trim the excess fat and make shallow cuts in the thick part of the thigh without shredding the skin. Mix the marinade without using all the honey; keep some clean honey aside for the final glaze. Marinate it in the fridge, turning it once, and throw away any marinade that has touched raw chicken unless you boil it.
Weigh the seasonings into small bowls and keep the utensils for raw and cooked food in two separate areas. Have a clean plate ready for the finished items; never put cooked food back on a plate that has held raw meat or seafood. Read all the steps through first, so the parts that have to be done quickly are not interrupted.
Step 1: take the chill off the chicken and heat the oven
Take the chicken out of the fridge for 20 minutes while the oven heats to 180C. Put it on a rack over a drip tray so the hot air can circulate. Do not leave it out for long, and do not rinse raw chicken, because the splashing can spread bacteria.
Step 2: the stage that cooks the inside
Roast at 175-180C with the skin side up. In an air fryer, leave space around each piece and drop the temperature by about 10C depending on the machine. If the surface darkens quickly, cover it loosely with foil; do not brush on much honey at this stage.
Step 3: mix a safe glaze
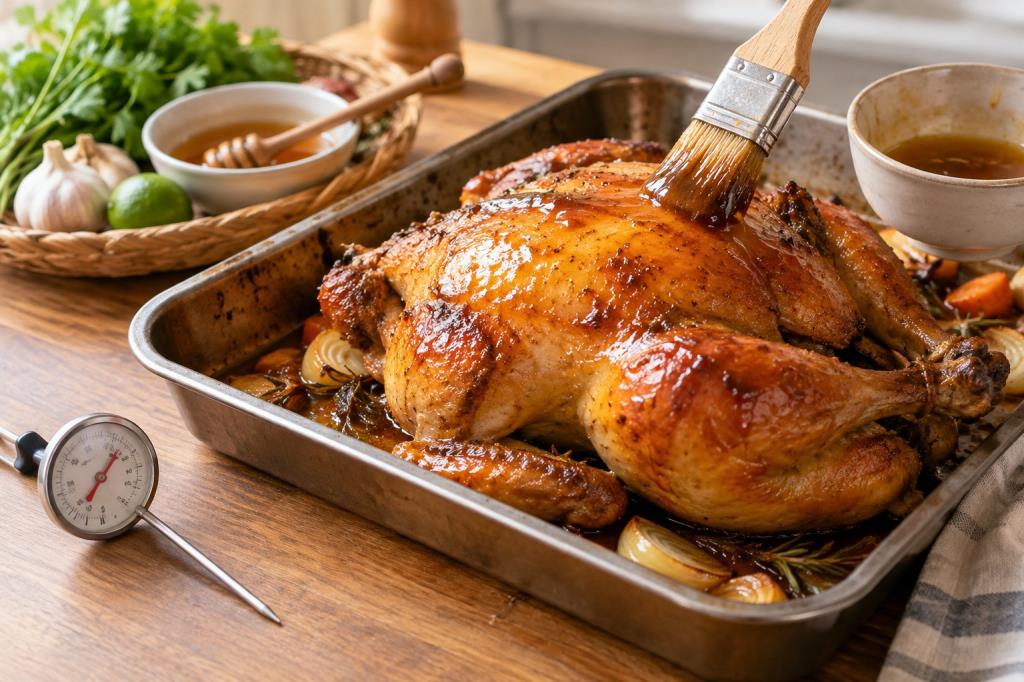
Boil the marinade if you want to use it, or better, mix the clean honey with oil, a little soy sauce and warm water. The glaze should be thin enough to brush on in a fine layer; too thick a coat burns in patches. Use a clean brush, and never go back into the bowl with a brush that has touched raw meat.
Step 4: build the colour at the end
When the thigh is nearly done, brush on a thin layer of glaze, roast for another 5-7 minutes and repeat if you need to. Watch it constantly in the last few minutes. If the colour is right but the meat is not cooked, cover the surface and carry on at a lower temperature.
Step 5: take the temperature and rest it
Measure the thickest part of the thigh and the breast, keeping away from bone; both must reach at least 74C. Rest the chicken for 10-15 minutes before cutting it up so the juices redistribute. Use a clean board and knife for the cooked bird.
Small tips that make the dish more consistent
- Pat the skin thoroughly dry.
- Score the thick parts without wrecking the skin.
- Marinate in the fridge.
- Save clean honey for the end.
- Use a roasting rack.
- Cover the surface when the colour comes up fast.
- Brush on several very thin layers.
- Measure both the thigh and the breast.
- Rest the chicken before cutting it up.
- Do not reuse raw marinade unless it has been boiled.
Every kitchen has a different hob power, pan thickness and level of moisture in the ingredients. The times are therefore only a reference; judge by colour, smell, tenderness, the rate of evaporation and the core temperature together. Note down the amount of liquid, the size of the equipment and the actual timings so it is easier to repeat next time.
Common mistakes and how to rescue the dish
The skin burns too early
Cover it loosely with foil, lower the temperature and move the tray down; next time brush on the honey later.
The meat near the bone is still pink
Carry on roasting with the surface covered until it reaches 74C; colour is not the only indicator.
The chicken is dry
It was roasted too long or not rested. Serve it with a safely heated sauce; next time take the temperature early in both the breast and the thigh.
The glaze does not stick
The skin is still wet or the glaze is too thin. Pat the surface, roast for a few minutes and then brush on a fresh thin layer.
A systematic way to taste and adjust
Taste a spoonful that has both liquid and a representative piece of the ingredients, let it cool for a few seconds and then work out whether the dish is short on salt, sweetness, acidity, richness or aroma. Change only one element at a time and wait until the seasoning has dissolved completely before tasting again. Fish sauce, salt, sugar and acid should go in a small amount at a time; this is far safer than trying to fix everything in one go.
If the dish is too salty, the real answer is to add suitable unsalted ingredients or liquid; adding sugar only masks the sensation and does nothing to the sodium. If it is too sweet, increase the liquid slightly and rebalance the salt before adding acidity. If the spices are harsh, take the solids out and let the dish rest rather than carrying on cooking it for a long time.
Controlling the heat and the equipment
The equipment has to suit the quantity: too wide a pot boils the liquid away quickly, too small a pot leaves the ingredients piled on top of each other, and a thin pan creates hot spots that burn. Heat it in a controlled way, watching the sizzle, the size of the bubbles and the rate of evaporation rather than just the position of the dial. When you need to top up a hot dish, use hot water so the cooking is not interrupted.
A food thermometer is a useful checking tool. Put the probe into the thickest part, away from bone and the base of the pan, and clean it before and after each reading. Poultry needs to reach 74C, minced meat 71C and fish 63C; for a dish where a direct reading is not practical, make sure every raw component is cooked through and the dish is held at a safe temperature.
Scaling the recipe up or down
If you are using a lot of thighs, lay them in a single layer and work in batches rather than stacking them. Two birds should go on two racks with space around them, swapping the tray positions halfway through, and each one checked for temperature separately.
When you double the recipe, use wider equipment or work in batches so the food meets the heat in the same way as in the original recipe. Start strong seasonings at about 1.7 times and taste again, because the surface area for evaporation does not scale linearly. When you halve it, switch to a smaller pot to keep the depth of liquid and stop it drying out too quickly.
A schedule so the dish is ready on time
The stock, the base sauce and anything that needs marinating can be done in advance, following the storage guidance. The herbs, the frying, grilling, griddling and the assembly should be left until close to the meal. If you are cooking several dishes, work backwards from serving time: leave whatever has to be crisp or hot until last, and finish the cold work and the preparation first.
While you cook, clear away any utensil that has touched raw food straight away, change a dirty cloth and keep the worktop dry. For each batch, use the same ladle or weigh the portions so the results are even. Never taste with a spoon and then put that spoon back into the pot.
Serving and presentation
Cut the chicken up after it has rested, arrange it back into shape and spoon over a very little of the boiled sauce. Serve it with rice, sticky rice, cucumber, herbs and lime.
Warm the plates or bowls for a hot dish and chill them for a cold dessert. Leave some space around the food so the main components are easy to see. Herbs, nuts, fried shallots or a finishing sauce should only go on just before serving, to keep their colour and texture.
Preparing ahead and storing
Cooked chicken must be chilled within 2 hours; you can take the meat off the bone and use it within 3-4 days. Reheat to 74C, covering it lightly so the meat does not dry out. Do not keep any sauce that has touched raw chicken.
Cooked food should not stay at room temperature for more than 2 hours, or more than 1 hour when the surroundings are above 32C. Divide leftovers into shallow containers so they chill quickly and use them within 3-4 days; when reheating, bring the whole portion to 74C. Only reheat what you are going to eat, and throw away anything with an odd smell, sliminess or other unusual sign rather than tasting it.
Allergy and safety notes
Soy sauce usually contains soy and wheat, and fish sauce contains fish. Honey must not be given to children under 12 months, even in a cooked dish.
Pregnant women, young children, older people and anyone with a weakened immune system should eat food that is cooked right through, and should be especially careful about cross-contamination. Read the label on packaged seasonings, as fish, crustaceans, soy, wheat, egg, milk, sesame or peanut can appear in ready-made sauces.
A checklist for the finished dish
- The raw components have reached a safe temperature with no undercooked areas left.
- It smells as it should, with no old oil, burnt or oddly sour note.
- Salt, sweetness, acidity and richness are balanced when tasted at eating temperature.
- The main texture is what you were aiming for: tender without falling apart, crisp without being raw.
- The serving plate and the tongs are clean and have not touched raw food.
- The garnish went on close to serving time and the allergens have been announced.


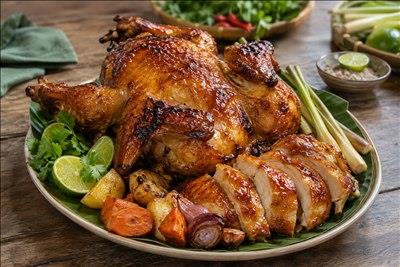 How to make honey-glazed roast chicken: glossy, juicy and never burnt
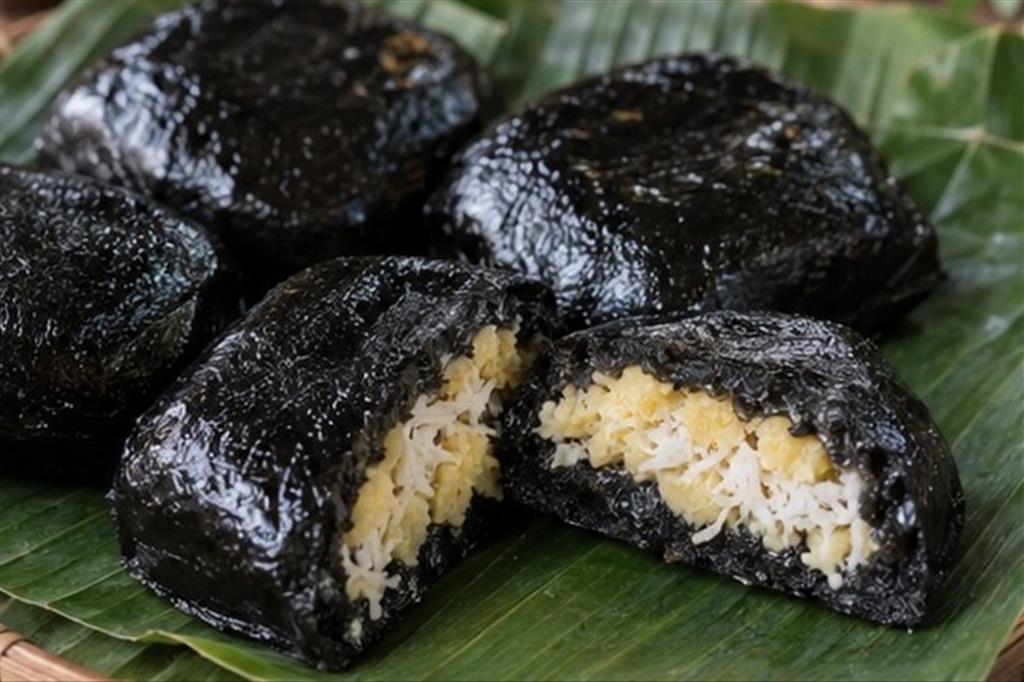 Tu Tru banh gai of Thanh Hoa: the black of ramie leaf and a sweet, nutty filling
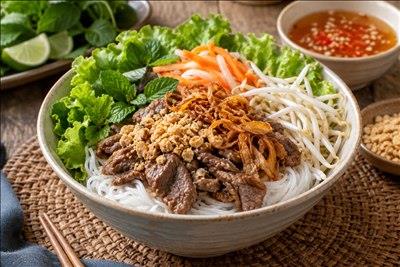 How to make bun bo Nam Bo: tender beef, crisp vegetables and a balanced dressing
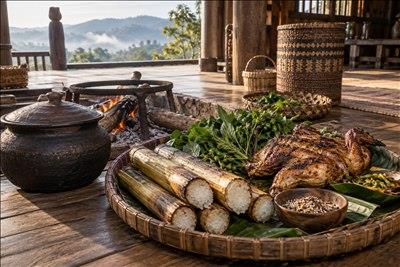 Bamboo-tube rice, grilled chicken and the fires of the Central Highlands: from the tube to the shared tray
 How to make banh cuon with pork filling: a thin, soft sheet that does not stick
 Cao Bang cured sausage: mountain sun, spices and a kitchen in the cold season
 How to cook mung bean and aloe sweet soup: refreshing, with crisp aloe and no bitterness
 How to cook xoi gac: a beautiful red, chewy separate grains and never claggy
Đăng nhập để bình luận: / Sign in to comment: