



How to make fresh spring rolls with prawn and pork: neat, firm and without tearing
Fresh spring rolls work because of the balance between soft, chewy rice paper, prawns and pork cooked just right, well-drained noodles and crisp vegetables. Roll them too tightly and they tear, too loosely and the filling falls out; wet the paper too much and the rolls stick together. This recipe for 12 rolls sets out how to layer them so the prawns show attractively and the dipping sauce is just strong enough.
Quick facts
- Yield: 12 rolls.
- Serves: 4 people.
- Preparation: 45 minutes.
- Boiling: 20 minutes.
- Best eaten straight after rolling.
Ingredients
- 300 g of fresh prawns.
- 400 g of pork belly or pork hock.
- 200 g of dried rice vermicelli, or 450 g fresh.
- 12-15 sheets of rice paper for rolling.
- Lettuce, garlic chives, Thai basil, mint and cucumber.
- Dipping sauce: hoisin, peanut butter or roasted peanuts, garlic, water.
- Pickles and chilli, optional.
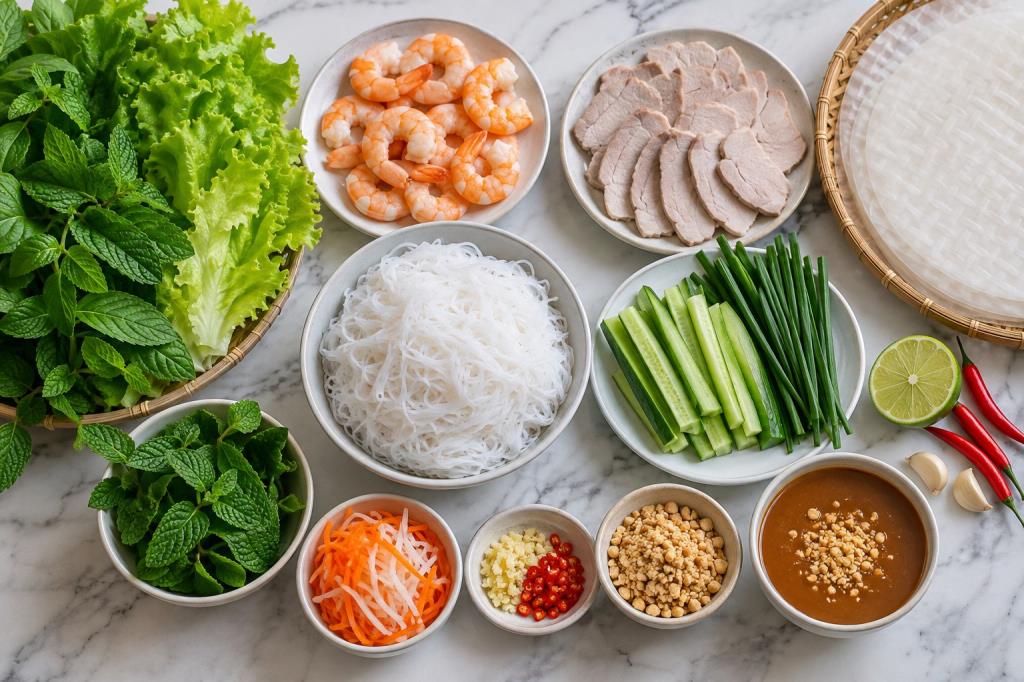
Choosing and preparing the ingredients
Fresh prawns have glossy shells, a natural curve and a mild smell. The pork should have a good balance of lean and fat. The rice paper needs to be pliable, unbroken and the right type for rolling; very thin sheets cannot take a moist filling. The vegetables must be crisp, unbruised and completely drained.
Start the pork in cool water at a gentle simmer, lift it out when it is cooked, soak it briefly in cool water and slice it thinly across the grain. Boil the prawns just until they turn opaque, then peel, devein and split them lengthways. Cook the noodles as the packet says, rinse them and drain them thoroughly. Keep all the utensils used for raw food away from the cooked ingredients.
Step 1: mix the dipping sauce
Fry the garlic lightly, add the hoisin and water to a medium consistency, then the peanuts or peanut butter. Boil it briefly and keep it warm. If it is too salty, add water; if it is too thick, adjust it a spoonful at a time rather than thinning it all at once.
Step 2: prepare the rolling surface
Use a shallow tray of warm water. Dip the sheet quickly in one movement, or brush water over both sides, then lay it on a clean board; the paper carries on softening while you arrange the filling, so do not wait until it is limp before lifting it out.
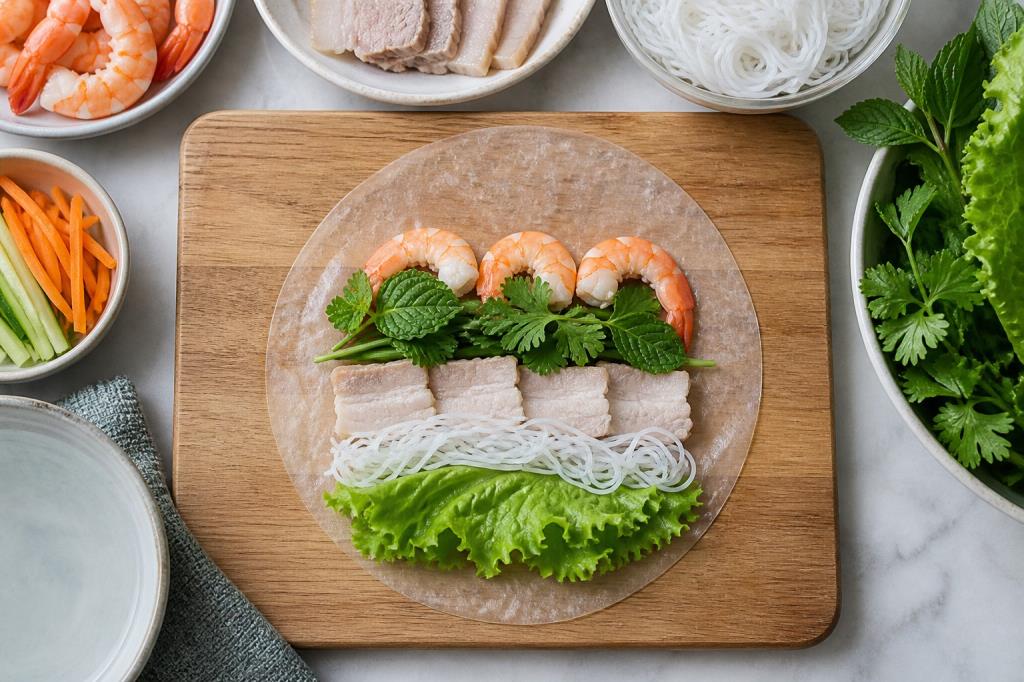
Step 3: arrange the filling in order
Put the lettuce, herbs, cucumber and a small handful of noodles on the lower third. Lay the pork on top of the noodles. Put the prawns in their own row higher up, cut side down, so they show on the outside once the roll is finished.
Step 4: roll it just firm enough
Fold the bottom edge over the filling, roll once and press gently, fold in both sides and lay a garlic chive along the length. Carry on rolling evenly over the row of prawns. Do not pull the paper hard; use your fingertips to hold the bundle of filling steady.
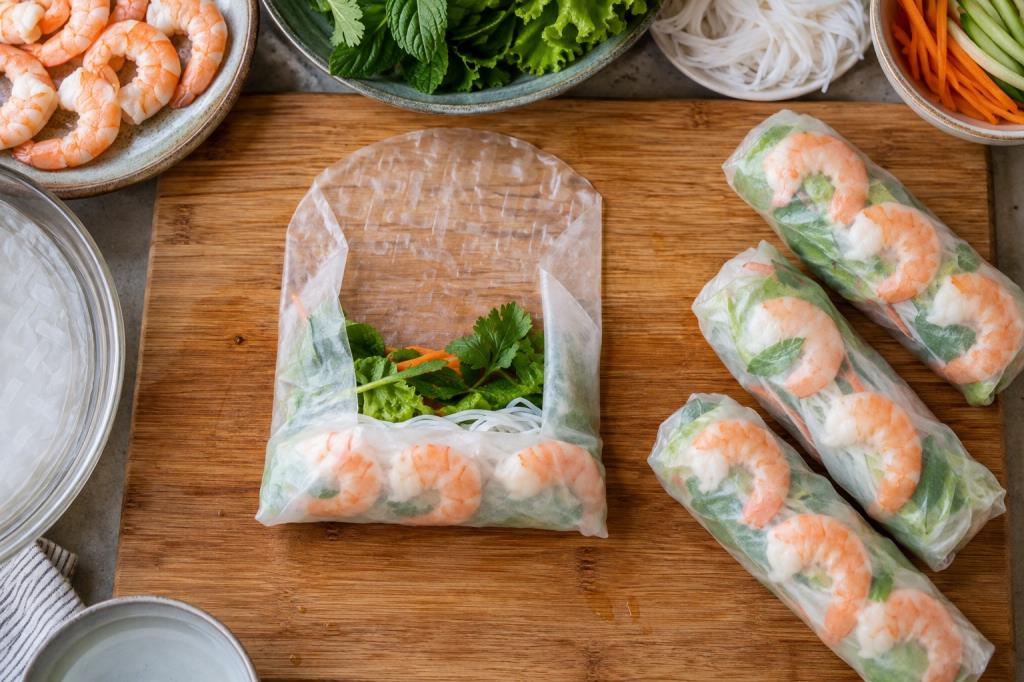
Step 5: stopping them sticking while they wait
Set the rolls apart on a tray lined with a well-wrung damp cloth, and cover them with another lightly damp cloth. Do not stack them directly and do not wrap them tightly while they are still warm. It is best to roll them close to serving time.
Step 6: cutting and serving
Use a sharp, slightly damp knife to cut them on the diagonal if you want to present them that way, wiping the blade between cuts. Rolls for a lunchbox are best left whole, with the sauce in a separate sealed pot so the paper does not soak it up.
Ten small tips that are easy to apply
- Everything in the filling must be cool and drained.
- Do not soak the paper until it is completely soft.
- Use a small, consistent amount of noodles.
- Lay the prawns in their own row so the roll looks good.
- Leave enough margin at both sides to fold in.
- Press gently after the first turn.
- Do not stretch the rice paper.
- Put the garlic chive in before the last turn.
- Do not stack the rolls.
- Mix the dipping sauce before you start rolling.
Common mistakes and how to rescue them
The rice paper tears
The paper was too wet, or the filling had a sharp edge. Use half a fresh sheet over the tear and carry on rolling; next time dip the paper for less time.
The roll is loose
There was too little filling, or the first turn was not pressed. Only unroll it while the paper is still firm; if it has gone soft, add a thin extra sheet on the outside.
The roll is dry and hard
The paper was not moist enough. Cover it with a damp cloth for a few minutes; do not soak a finished roll in water.
The dipping sauce is too thick
Add hot water a spoonful at a time and heat it again; adjust the salt and sweetness once the consistency is right.
Organising the kitchen so the dish is ready on time
Read the whole recipe before you start, then weigh and sort the ingredients into groups: raw food, cooking seasonings, vegetables that are eaten as they are, and the finishing touches. A knife, board, pair of tongs or plate that has touched raw meat or seafood must not be reused for cooked food until it has been washed. Having a clean tray ready to receive the finished items saves you rushing at the last minute.
If you are cooking for a crowd, finish the parts that can be kept cold in advance, and leave the herbs, the frying or grilling and the assembly until close to the meal. Note down when each stage started, the actual temperatures and how much liquid you used. These small notes are more useful next time than adding seasoning by feel.
Scaling the recipe up or down
Prepare the ingredients like a production line and only lay out enough for 15-20 minutes so the vegetables do not wilt. For a party, letting the guests roll their own keeps the quality far better than rolling for hours in advance.
When you double the recipe, choose a wider pot or pan rather than stacking the food in layers. Start strong seasonings at about 1.7 times and taste afterwards, because the surface area for evaporation and the saltiness of the ingredients do not scale linearly. When you halve it, switch to smaller equipment to keep the depth of liquid and the rate of heat transfer appropriate.
Serving and presentation
Serve the rolls with peanut sauce or sweet-and-sour fish sauce, with the pickles and chilli separate. A good roll has clear layers, the prawns facing outwards, the garlic chive straight and both ends closed.
Preparing ahead and storing
Fresh spring rolls are at their best within a few hours. If you have to keep them, lay them in a single layer, separated from each other, and cover them with a damp cloth in the fridge. Store the prawns and pork, the noodles and the vegetables separately before rolling, and do not use rolls that have been left out too long.
Cooked food should not sit at room temperature for more than 2 hours. Divide leftovers into shallow containers, chill them promptly and use them within 3-4 days; when reheating, bring the whole portion to 74C. Only reheat what you are going to eat, and throw the dish away if there is an odd smell, sliminess or anything unusual, rather than tasting it to check.
Allergy and safety notes
This dish contains prawns and pork, the sauce may contain soy, wheat and peanuts, and fish sauce contains fish. Anyone with a prawn allergy needs their own utensils and surface; taking the prawns out of the roll is not enough.
Pregnant women, young children, older people and anyone with a weakened immune system should eat food that is cooked right through and avoid cross-contamination. Always read the label on packaged seasonings, as fish, shrimp, soy, wheat, egg, milk or peanut can turn up where you would not expect them.
Checking the dish before you serve it
Do not rely on the times given in a recipe alone, because the size of the ingredients, the type of pot and the power of the hob all differ. Check the safe temperature, the tenderness, the amount of liquid, the colour and the smell together. Taste a small amount after letting it cool for a few seconds; food that is too hot usually makes salt and sweetness harder to judge. Add seasoning only in small amounts, stir or turn it just enough, and wait for the flavour to settle before seasoning again.
Move the finished dish to a clean bowl or plate, wipe the rim neatly and add the garnish close to serving time. If the dish has to wait, keep it hot properly but avoid carrying on with a strong heat, which dries the meat, softens the vegetables or thickens the sauce. Note down the quantities you actually used, the timings and the adjustments that worked, so the next attempt is more consistent.
Cleaning up after cooking
Let the oil or the pot cool to a safe temperature before you deal with it, but put the cooked food away within the proper time before you tidy the kitchen. Wash up working from the clean areas towards the ones that touched raw food. Cloths and sponges that have picked up meat juices need washing or replacing, and the worktop, cupboard handles and tap are worth wiping down too, as they are often touched during preparation.


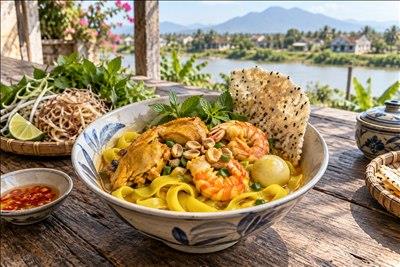 Mi Quang and the kitchens of Quang Nam: a bowl with little broth and a great deal of memory
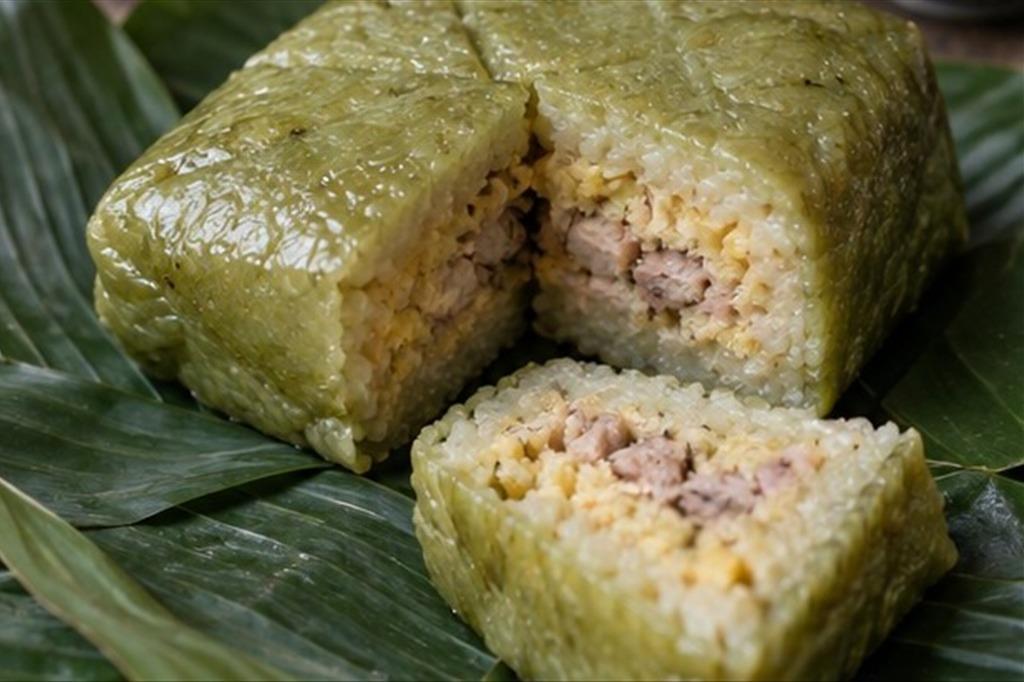 Bo Dau banh chung: the green square cake at the crossroads into Thai Nguyen
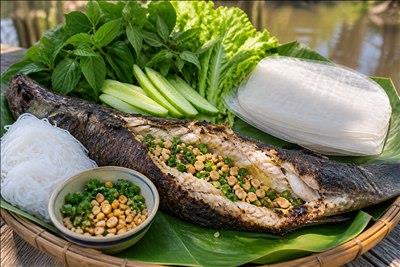 How to cook ca loc nuong trui: evenly done, juicy flesh and no taste of ash
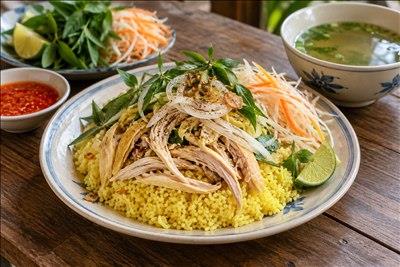 How to make Hoi An chicken rice: fluffy grains, juicy chicken and a crisp onion salad
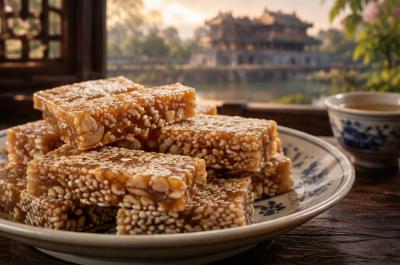 Me xung from Hue: chewy malt, toasted sesame and the slow rhythm of tea
 The food of Hue: where the royal kitchen, everyday dishes and small street stalls meet
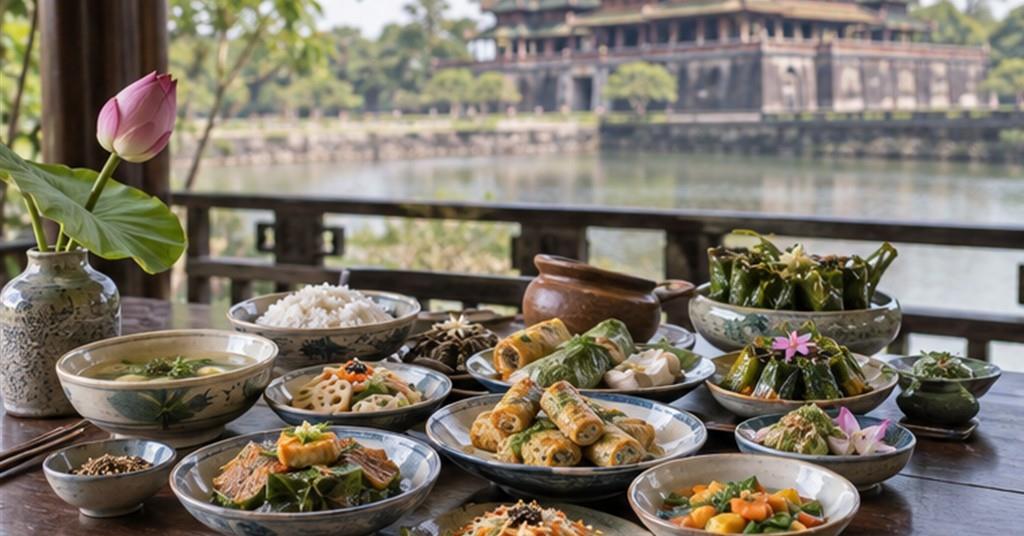 Hue vegetarian food: why is something so plain still so layered in flavour?
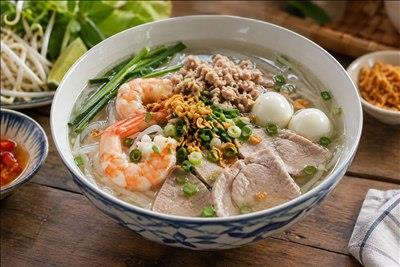 How to cook hu tieu Nam Vang: a clear broth, sweet from the bones, with noodles that hold
Đăng nhập để bình luận: / Sign in to comment: